The Best Easy Chicken Piccata Recipe
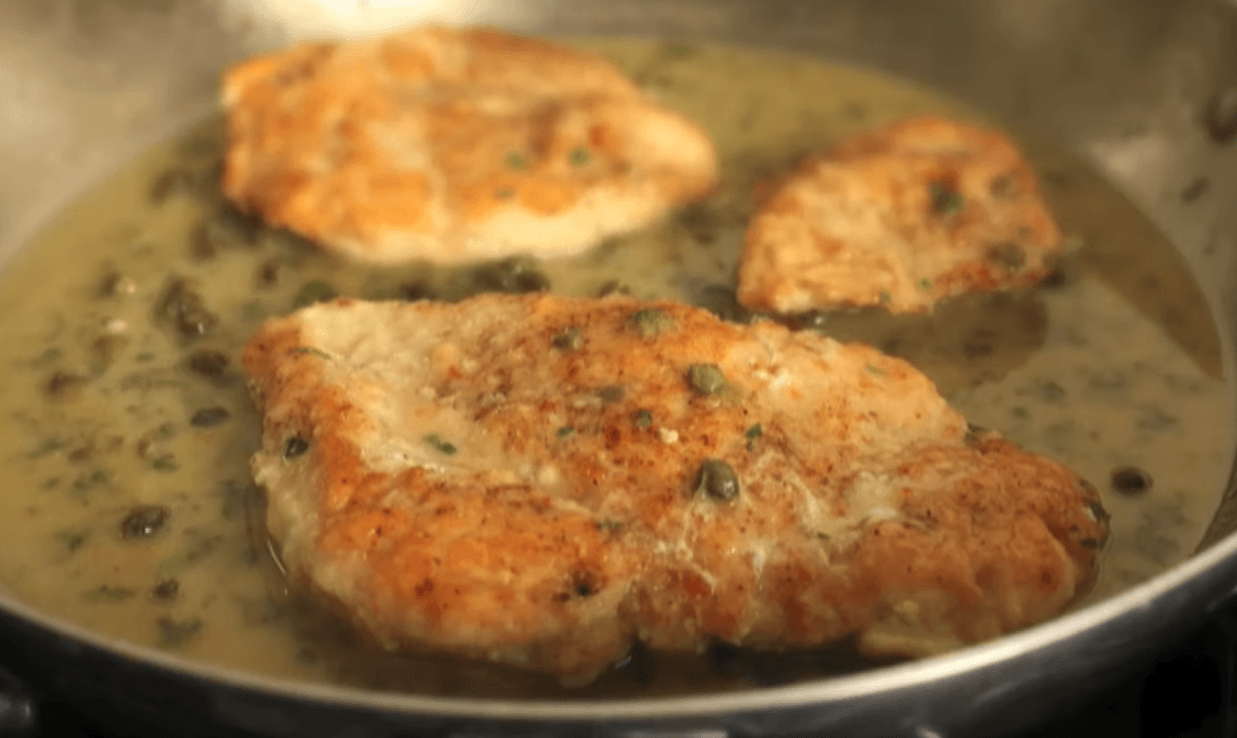
If you are looking for a dinner that feels like a fancy restaurant meal but comes together in just minutes, you have found it! This easy chicken piccata recipe is guaranteed to become a regular in your weeknight dinner rotation. The beautifully browned, pan-seared chicken is bathed in a bright, vibrant pan sauce that perfectly … Ler mais